Tuesday, April 24, 2018

Weird screw.. fix and bike running.

The screw I had problems with in the last post gave me a bit of a headache. At first glance it looks like a normal M5 fine..ie a metric pitch between the threads and a diameter of 5mm.


I went back to the shop I bought the wrong screws from and they didn't have a correct one. I went to a few others that I knew of and nobody had this particular size. One guy was more helpful than the others and took some time to measure my bolt up, he ended saying that it was probably a 1BA thread. Well we've been metric in Malaysia for a long time and none of the shops I went to had anything which fitted (these were all shops that only sold nuts/bolts and other fasteners). A quick search of 1BA bolts/screw on ebay showed a few examples but these were quite expensive! I was looking at something like USD30 (incl s and h) for a couple of screws. I posted my problems on the 'Yamaha two-strokes 1955-1979' facebook group and got some great input. I think the consensus is that Yamaha used some JIS threads.

The next option was to call a friend of mine who had a machine shop,  as the threads were ok I figured he could weld some metal on the end and chuck it in a lathe and make the chamfer. Once done all that was left to do was level the end and cut a slot for a screwdriver. He was willing to do it but his place is not really nearby and he doesn't work on weekends.

I thought about it for a week and finally decided to take the most convenient option.. run a M5 x 0.8mm tap down the hole and hope that it would hold the M5 screw I bought earlier.

Taking the bull by the horns, I brought out my tap and slowly worked it in. There was no space for a proper tap-holder so I had to use a pair of vice-grips (mole-grips) to screw it in. This had to be done slowly and the tap needs to be withdrawn after one turn to clean the threads. I believe the holes go through into the crankcase and I didn't want to get any metal shavings in there! So and easy does it.

I used a thin rod with a blob of axle grease and poked it into the hole so that the shavings would stick to it and get drawn out. This is what comes out.

Trial fitting of the new M5 screw.

And this is most of the stuff out.. this will cause real carnage if it gets inside the crankcase as the main bearings sit just behind this.

Threads were finally done and a trial fitting of the screw is snug. It doesn't really take much load as the stator-plate is well supported on the sides by the crankcase casting, the main force will be in preventing the plate from spinning.. in this sense I think its fine.

Here it is installed. Above the screw just visible on the edge of the stator plate is an alignment lug cast into the crankcase, this ensures that the plate is mounted centrally. On some bikes the holes in the plate are slotted so you can play around with the spark advance if the contact point mounts do not give enough range of movement, here it is fixed. I will probably come back and check the screws after riding a few miles. If it gets loose then I'll probably need to use some thread-lock or JB-weld.

This option of tapping the holes to a different thread is really a bodge and is something I really don't like doing but the other option would simply take too long.

Here is a video of the bike running.


It has more compression and power than before (not surprising considering the condition of the bore previously!) and the increased compression has made the slipping clutch more apparent as it sometimes slips when kick-starting.

Unfortunately the noise in the crankcase is still loud so it will definitely need to be investigated.. currently sounds like the proverbial 'bucket of bolts' .

Will ride it a while and see.

Cheers!

Tuesday, April 10, 2018

Top overhaul

Well while waiting for the standard size piston purchased from ebay (shipped from the US), I decided to proceed with installing my old cylinder which has now been rebored to +1.75 with matching pistons and rings.

I'll bee needing these ..
Piston, rings, head bolts, piston pin, piston 
bearing, circlips and a gasket set.

Since the cylinder was off the bike, I decided to clean up the crankcase gasket surface, removing the old gasket material. Well this should have been easy but the cylinder studs got in the way... so I removed the studs to enable better access. Bad idea. 

The first three studs came off fairly easily with two nuts locked together but the fourth didn't want to play ball. A bit more force (yeah I should have know better!) and the stud broke off at the base!

Well I stopped for a while to look at my options. The usual course of action would be to drill down the middle of the remaining portion and then use an easy-out. I really dread using this as my success rate is less than 50%. Second option would be to take the engine out and bring it to someone who actually knows what they're doing.

Trying to put off making a decision I looked around the bike and I noticed the Phillips bolts holding the coil mounting plate had butchered heads. Since I had my tools out I tried to remove them with my impact driver.. well I made things worse! The Philips head was totally rounded out even though I was using the correct bit! Well at least this was something I could solve as drilling down Philips screw/bolts is easy as the damaged area will centre the drill bit. This went well and the plate came off and the threaded remnants of the bolts unscrewed easily.


Since I had the drill out I decided to try my luck on the broken stud. Since the break was reasonably flat I had a good chance to get the bit smack in the centre. You don't want to drill off centre as it will damage the threads in the casting! I started by centre-punching the broken-off stud and mounted a 2.5mm drill bit into my trusty Bosch hand-drill. oh-oh.. the front wheel and mudguard was preventing me getting a straight shot at the stud so that had to come off first!


The 2.5mm drill bit made a nice hole..centred well too and was followed by a 3.2mm bit. When it got to around 5mm deep I inserted the easy-out. (If you're not familiar with these they resemble a big left-handed screw and the idea is they will screw into the nice hole I just made and reverse the broken bit out. Nice in theory but what can happen is they break inside the broken piece and now you're really screwed as the easy out is made of hardened steel and you cant drill it out). I tried to move the easy out but it was stuck fast. I then heated the crankcase where the stud was mounted to see if that would help (actually this is what I should have done initially when faced with the stuck stud) and with a bit of force the broken stud unscrewed.. Really dodged a bullet there!


I then installed the piston, cylinder and head... damm the gasket set does not fit! I made a new base gasket from gasket paper and re-used the head gasket. One tip when cutting gaskets is to use a hole puncher at the corners. I had one made for leather which has several sizes. Once you've made the holes all thats left is to cut reasonably straight lines. In the picture below it looks weird because the paper is not flat!

When it came to re-install the coil-mount plate I hit another snag, I had bought 2 bolts with a countersunk head but these would not screw in. I then compared new with old and the threads were different! As this was late evening on a Saturday the shops had closed so I put everything away.

To be continued!


Thursday, April 5, 2018

Rebored Cylinder with 1.75 oversize

Continuing on my YG1 engine.

In my earlier post I mentioned I found a NOS standard cylinder but the vendor only had a 1st oversize piston (0.25) over. I managed to find one on eBay but they wrongly sent a 1st oversize one. They were good about it and are sending the correct one but the wait is tough as its usually 4 to 6 weeks from the US to Malaysia.

If you remember I mentioned that the local bike shop said they could rebore my bike to 1.50 over..well I sent them the cylinder and old piston and I got them back 2 weeks ago. The new piston quality is not too good as the crown is pretty rough with one or two bumps from the casting process.. It also looks like the guy who did the rebore sanded the skirts a bit. Good sign as he probably checked the fit of the piston. The rings are unbranded.. They just have "trim 1" and "trim 2" marked on them.. I'm gonna install trim 1 top and trim 2 bottom unless anyone has any better ideas?

The rebore was supposed to be to 1.50 over but they ended up having to do 1.75 as the bore was too damaged to do a 1.50. Looks like it was done correctly as the piston sits square in the bore with minimal rocking.


Piston. you can barely make out 1.75. Arrow points to exhaust port. Get this wrong and the bike won't run.

Nice and new.

The skirts are sanded a bit.

Rings. also marked 1.75. Trim 1 will go in the upper position. 

Bigger bore.


I'll probably install it this weekend and hopefully get to ride it. Will keep you guys updated.

Sunday, March 25, 2018

Front fender

The front fender on my bike is not original .. currently it looks like this


While most of the ones I've seen online are like this below (original pic from here).


And period ads confirm this. 


While the one currently on the bike works, I started looking for a correct one. First stop was ebay...well there was one alright but at USD150 plus another USD50 for shipping it was too much for me! I then put the word out that I was looking for one on facebook and one bloke responded that he had one. The price was right but the mounts looked to have been shortened a bit. It will be possible to repair but I decided to wait a bit.


Another guy had one for sale and the pictures looked promising, a few holes and dents but fixing that is wayyy easier than repairing cut-off mounts!


It was at this point that it struck me that the original mudguard had only one hole for the upper fork mount but on my bike there were two bosses on the fork for mounting the mudguard.. oh oh ..was the forks swapped out sometime in the past for something from a different model?

But the bolt-on points at the bottom are still there!


 Picture of the two bolt fixing , the lower stay mounts are not used.


Anyway, the vendor for the fender (the silver one above) confirmed that it would fit. It seems that the earlier ones had one bolt boss and later ones two? Anyone can verify this? Or at least confirm that some YG-1 had two bolt bosses on the upper end?

Here's a picture of the two types.


Anyway the price was way better than a NOS ebay one and condition was better than the one with the shortened legs so I bought the fender. A bonus was the seller was local to me and we had a nice chat about bikes!. Its surprisingly solid, it needs a bit of welding and some paint and we're good.

One more thing off the to-do list!


Tuesday, March 20, 2018

I started looking for cylinder and pistons.

I started looking for cylinder and pistons.

Since the piston was at 1.25 oversize, I did a search on ebay and other vendors (eg CMSL) for a 1.50 o/s piston/rings set but this was not successful. I believe original Yamaha Pistons went up to 1.00 oversize but the aftermarket suppliers did go higher (reliability was not really an issue for those guys) which is fine to get the bike running but once you go too big you run into problems like the ports getting out of shape. This is because the ports (windows in the cylinder for the inlet and exhaust) are only a constant diameter for a very small distance after which they start to taper away. This is especially true for the inlet ports. The size and shape of the inlet ports are crucial to the running of a 2-stroke bike. As how Yamaha designed it, it was a compromise between power and economy. Change the shape and you alter the balance resulting in poorer performance. The guys who know what they're doing can get amazing results with big increase in power but is usually confined to a narrow range of revs which usually makes the bike unrideable on the street.

Anyway I posted on a local facebook page for pistons/rings/cylinder and got a response from Kenny at facebook page "Classic Japanese Motorcycle Parts Malaysia" who had an original NOS cylinder and (std bore) a piston (1st oversize).

A box.. unmarked except for the writing.

the contents.. a NOS cylinder ...


This is the paper stuffed inside the bore..it is some kind of anti-rust thing.

 The Piston kit
 hmm.. its a 0.25 oversize (original bore is 47mm).
 rings

The whole lot.

The marking on the kit and inner boxes show the suffix -00 which I understand is for standard but the markings on the piston is 47.25. Probably some mix-up in packaging but I'll need to measure it up, especially the rings.

So now I have a nice new standard piston but only an o/s one to match. I could bore the cylinder to match but it seems a waste to do that so I went on the hunt for a standard piston and bore.

This is what I scored on ebay.

A standard size piston


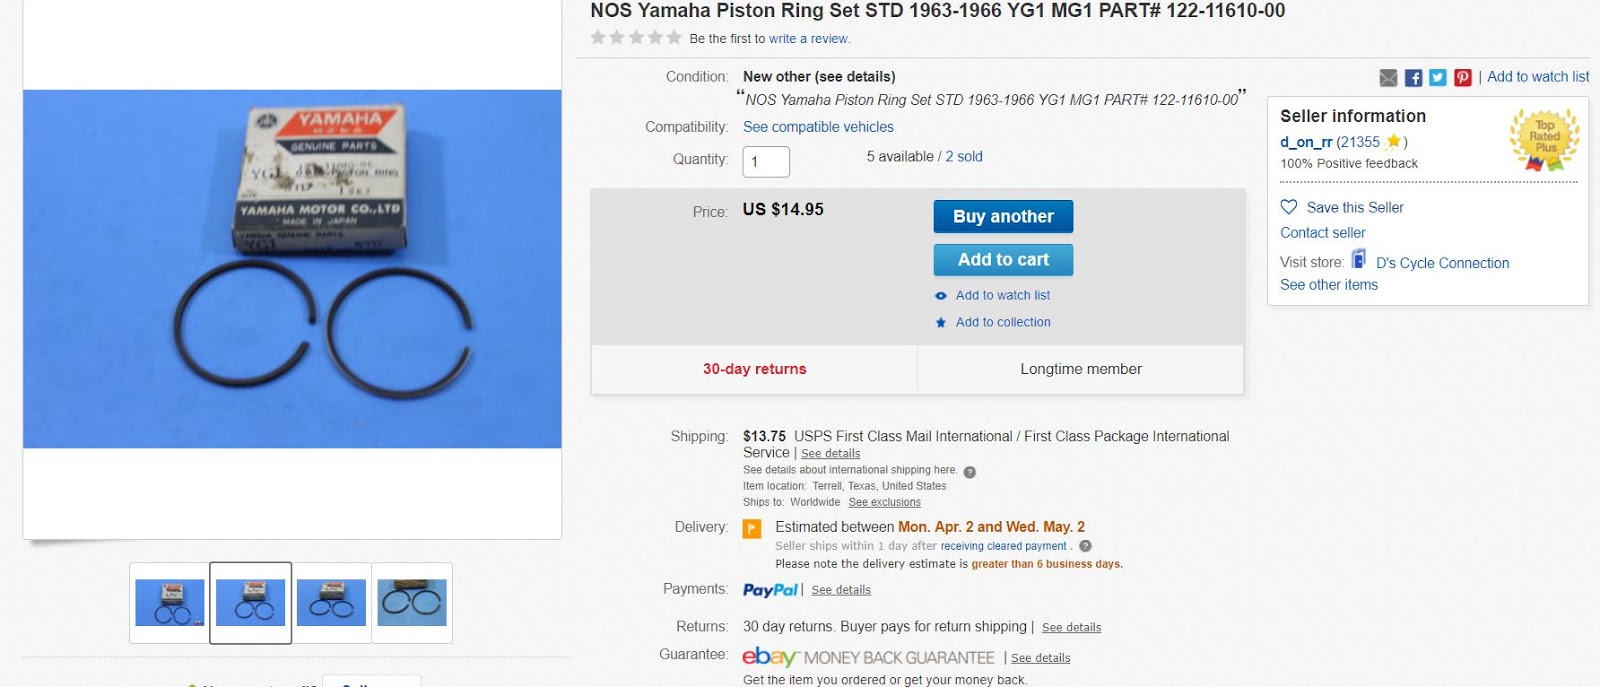
And a  set of standard rings

Currently on the way to me here in Malaysia!

In my hunt for a cylinder and piston here in Kuala Lumpur, my regular parts guy told me he had pistons up to 3.00 oversize! I brought my old parts to him and he said no problem. Cost MYR119 for a rebore to 1.50, pistons, rings, piston-pin and base gasket. This works out to around USD 30 at todays rates. For that price I told him to go for it but I think I'll go with the standard size NOS parts I bought for now. The potential problems as mentioned in the opening paragraphs above are not worth it on a bike which will not see much mileage! I should be getting the cylinder and pistons back in a few days and will post pics up here.


Tuesday, February 27, 2018

Well following on my previous post.. I decided to take the cylinder off to check what I had to work with.. ie if the piston and cylinder can be re-used or do I need to replace stuff. Knowing the size of the current piston would help sourcing a replacement. If it was standard I could go to the next bigger size etc. It's pretty easy on this bike to remove the cylinder as you only need to undo the exhaust collar followed by the spark plug lead and the 4 bolts holding the head on.

Well its not good news.. the cylinder and piston are pretty worn with deepish scratches down the side of the cylinder and piston...ouch!


What is worse.. the piston is marked 1.25. This is the size relative to the original bore in mm. The 1st oversize is usually 0.25 followed by 0.50 for 2nd oversize. I would imagine that this is the max as the spigot of the cylinder is already razor thin.. see the area circled in yellow below!


Size marked on the piston.


I'll probably clean it up and re-install the bits while I hunt up for a replacement cylinder or barrel.

Watch this space!


Engine dismantling and diagnosing.

Flush with the successful removal of the clutch hub, I decided to move on and open the crankcase and see if I could figure out what that aw...